Yogurt Whey Indian Chapati {Unleavened Flatbread} made with Water or Whey from your Instant Pot Greek Yogurt can be on your table in 60 minutes or less.
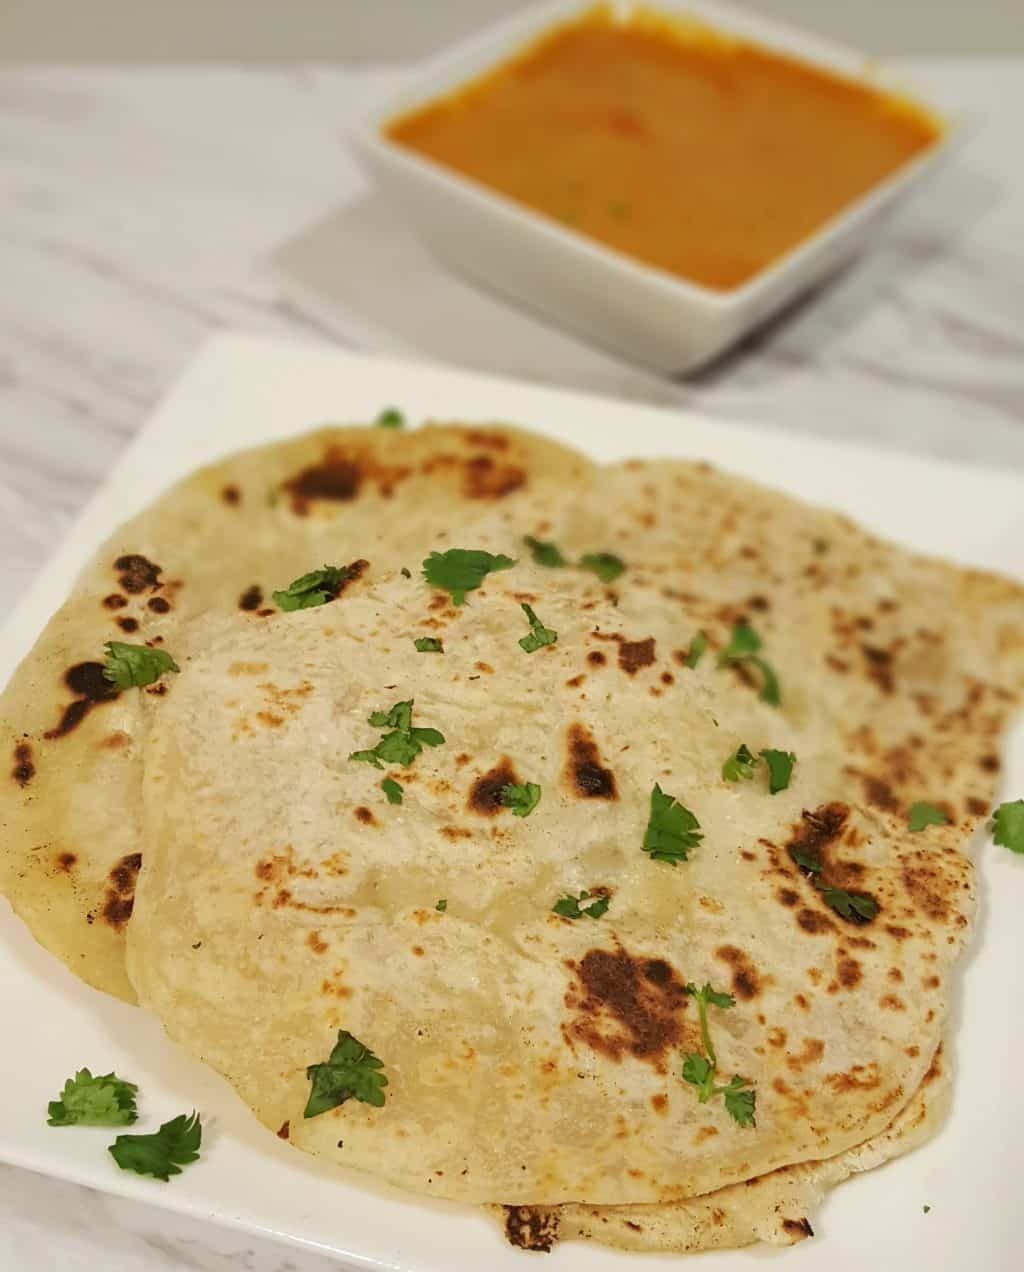
Yogurt Whey Indian Chapati {Unleavened Flatbread}
Yogurt Whey Indian Chapati is an Unleavened Flatbread. It is also know as Roti and Roshi. It is made with Atta Flour, which is an Indian, Hard Duram Wheat, that has been finely ground. Traditionally, Chapati is cooked on a Tava. Nowadays, it is cooked in a Cast Iron Skillet or other sturdy pan.
Atta Flour is a very finely milled Whole Wheat Flour, used in Indian kitchens. The Chapati is cooked on a Tava and then moved to an open flame, which will cause the Chapati to puff up very nicely. I don’t own a Tava and find that my Cast Iron Skillet works really well.
If you cannot get Atta Flour (and I suggest you try it at least once, cause it is really good) try this recipe with another type of Wheat Flour. Durum Flour or Stone Ground Flour will work too, if you have a Vitamix and a Dry Container. You can process to a finely ground flour! All Purpose Flour will work too.
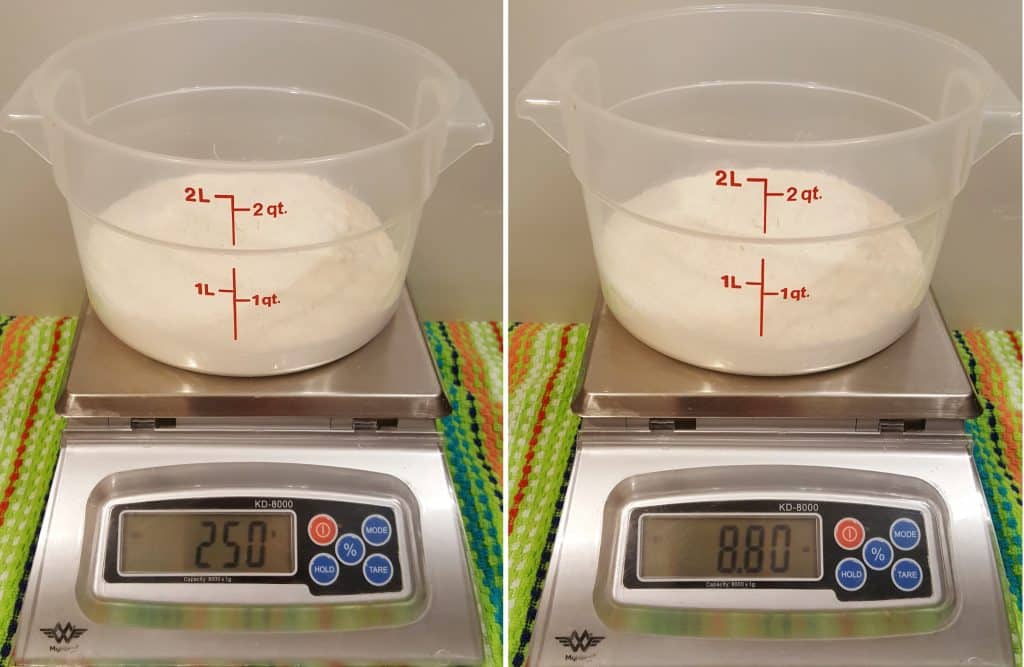
It’s always a good idea to know How to Properly Measure Flour. I like to use the Bakers Math Scale to weigh mine, but if you have Measuring Cups, please read the my article to see how to measure using Measuring Cups.
For this Yogurt Whey Chapati {Indian Flatbread} recipe, however, you do have a bit of play, so if you don’t measure accurately, it is not a huge deal. You can always add more Fresh Water or Whey, if you end up with a brick.
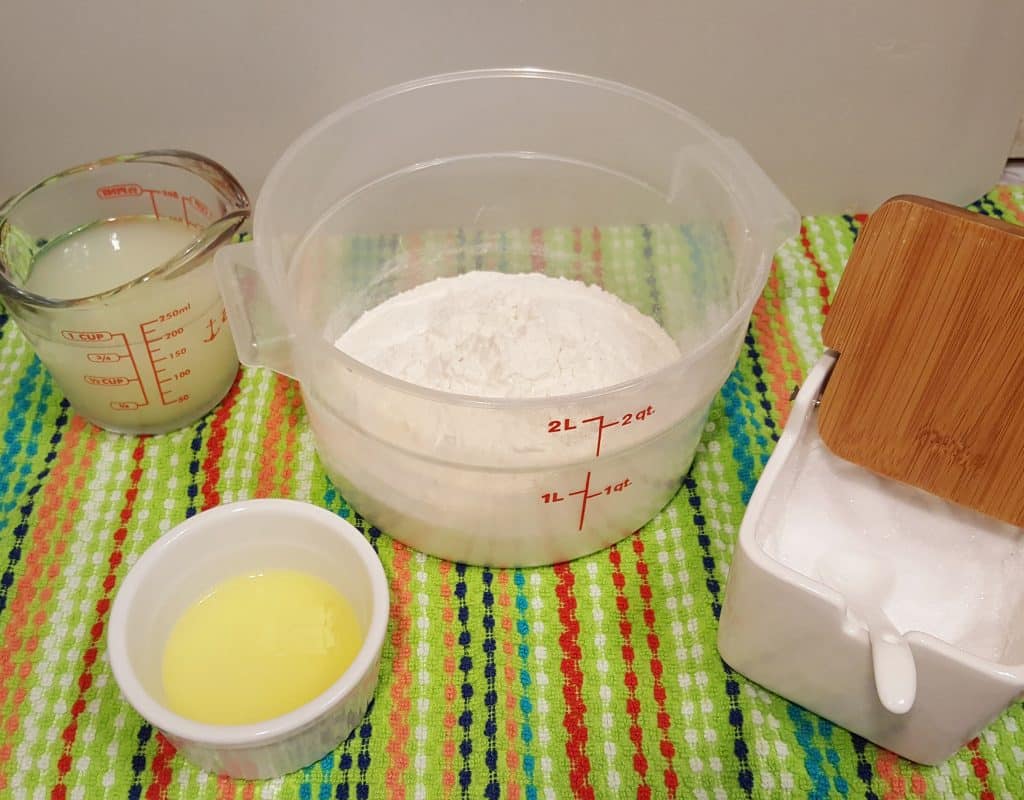
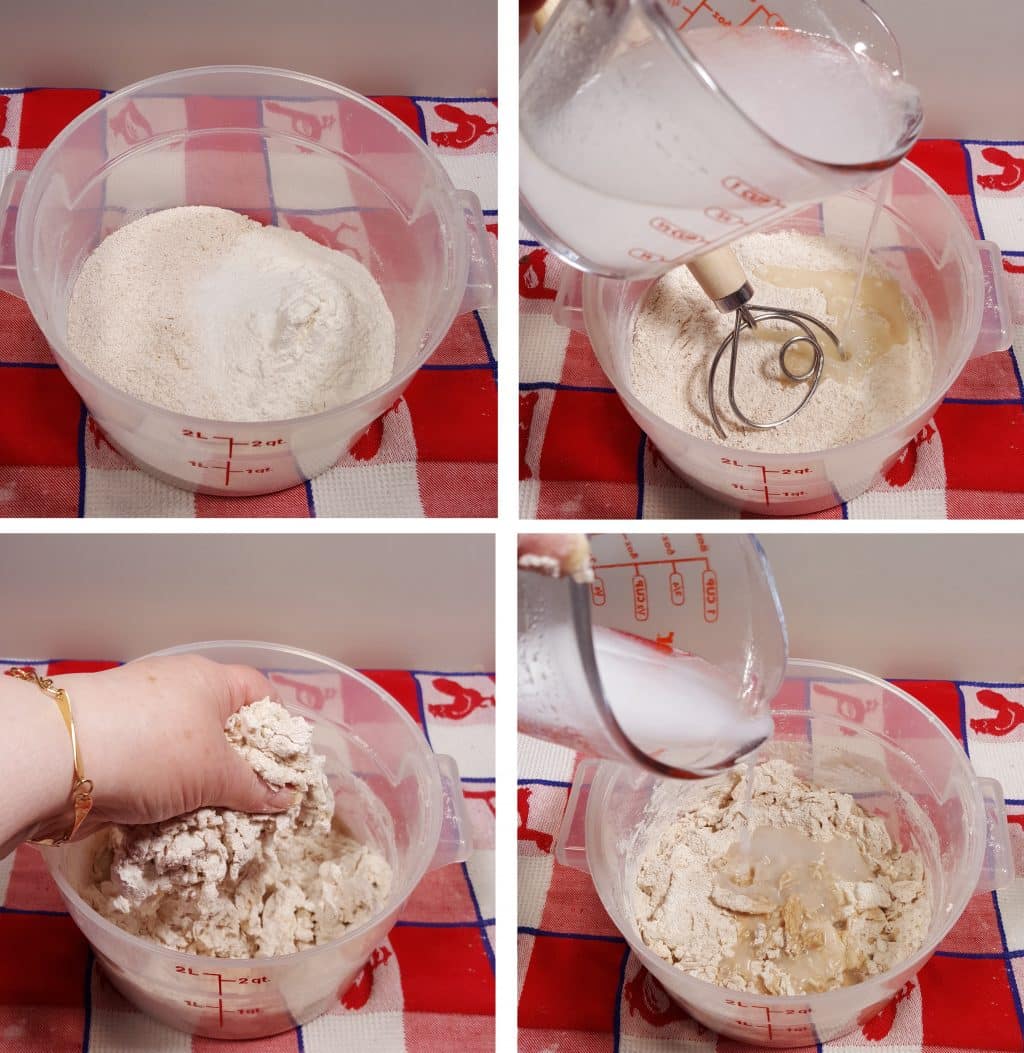
Combine the Atta Flour and the Sea Salt. Pour in about half of the Yogurt Whey.
Jump to Section
Can Water Be Used
- Yes, you can use fresh water if you do not have any whey from yogurt.
Gently pinch the Dough together with your fingers. Add more Yogurt Whey (or Fresh Water) until the Dough starts to pull away from the sides. The Dough will be firm and not sticky.
Knead it gently until the liquid is well incorporated. If you have measured the flour properly, you will use all of the Yogurt Whey (or Fresh Water). You might even need to add in a bit more flour. The more you knead, the more the Dough will come together, so don’t add tons of flour.
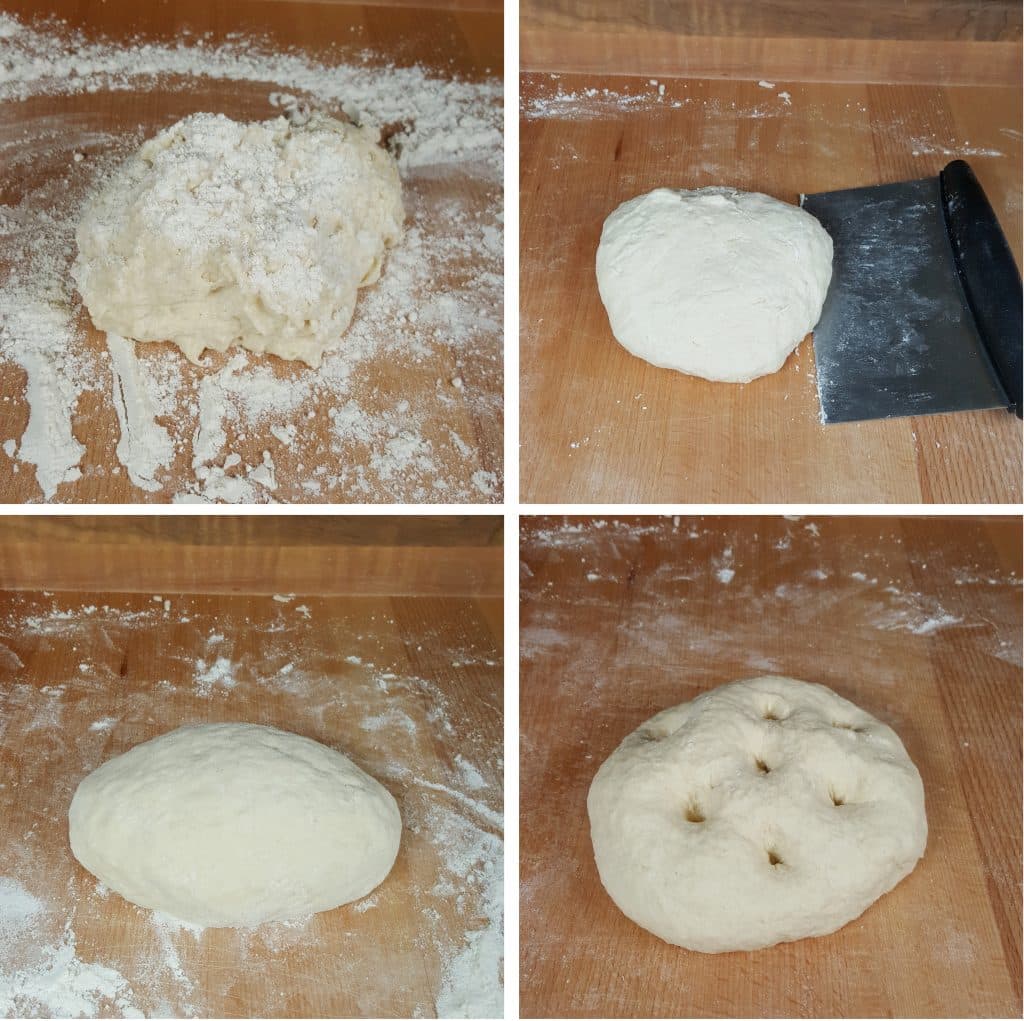
After mixing up the dough, turn it out onto a floured Pastry Board. Use your palms and knead the Dough until it becomes soft and pliable, about 10 minutes.
If your Dough sticks, use a Bench Knife for help. You may need to sprinkle on a bit of Flour. You should be able to push the dough in and have it leave an impression.
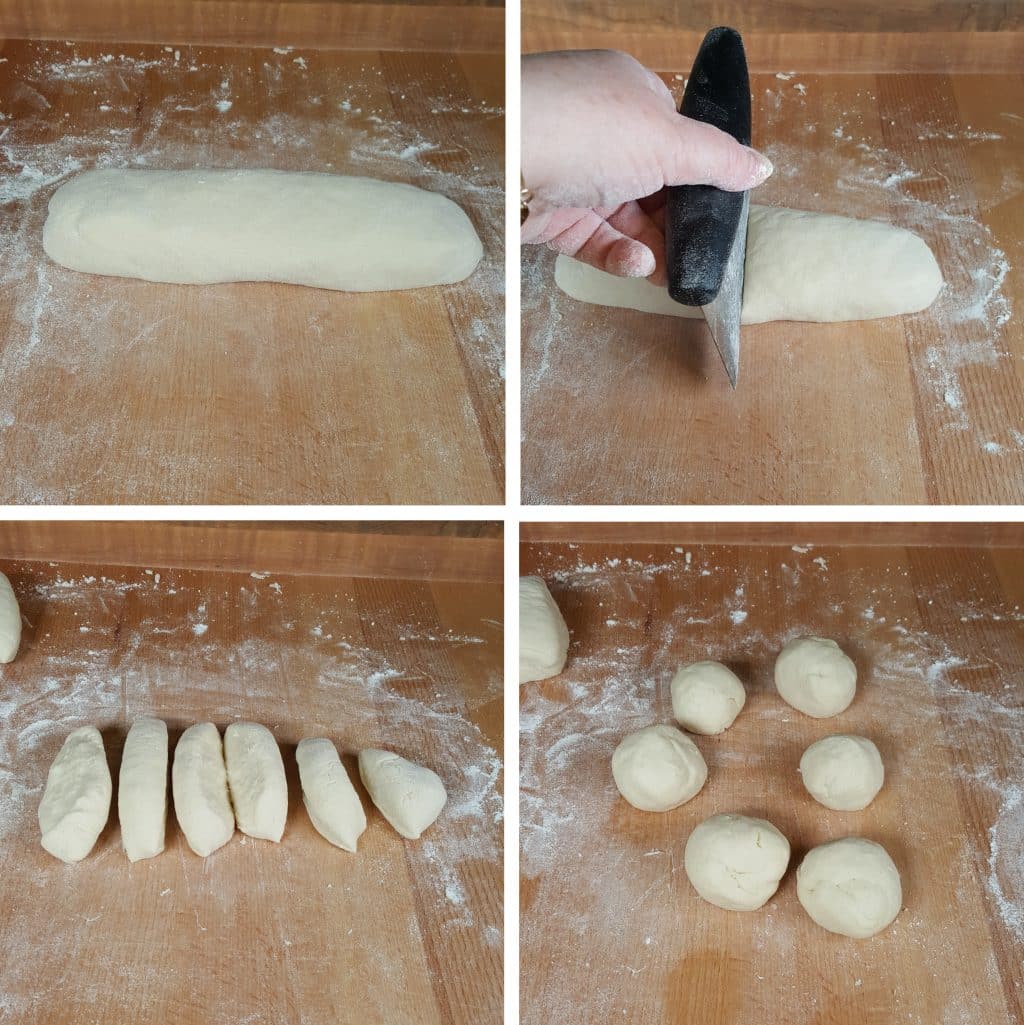
Roll Chapati Dough into a Log
Roll the Dough into a log and use a Bench Knife to cut the Dough into 10-12 pieces.
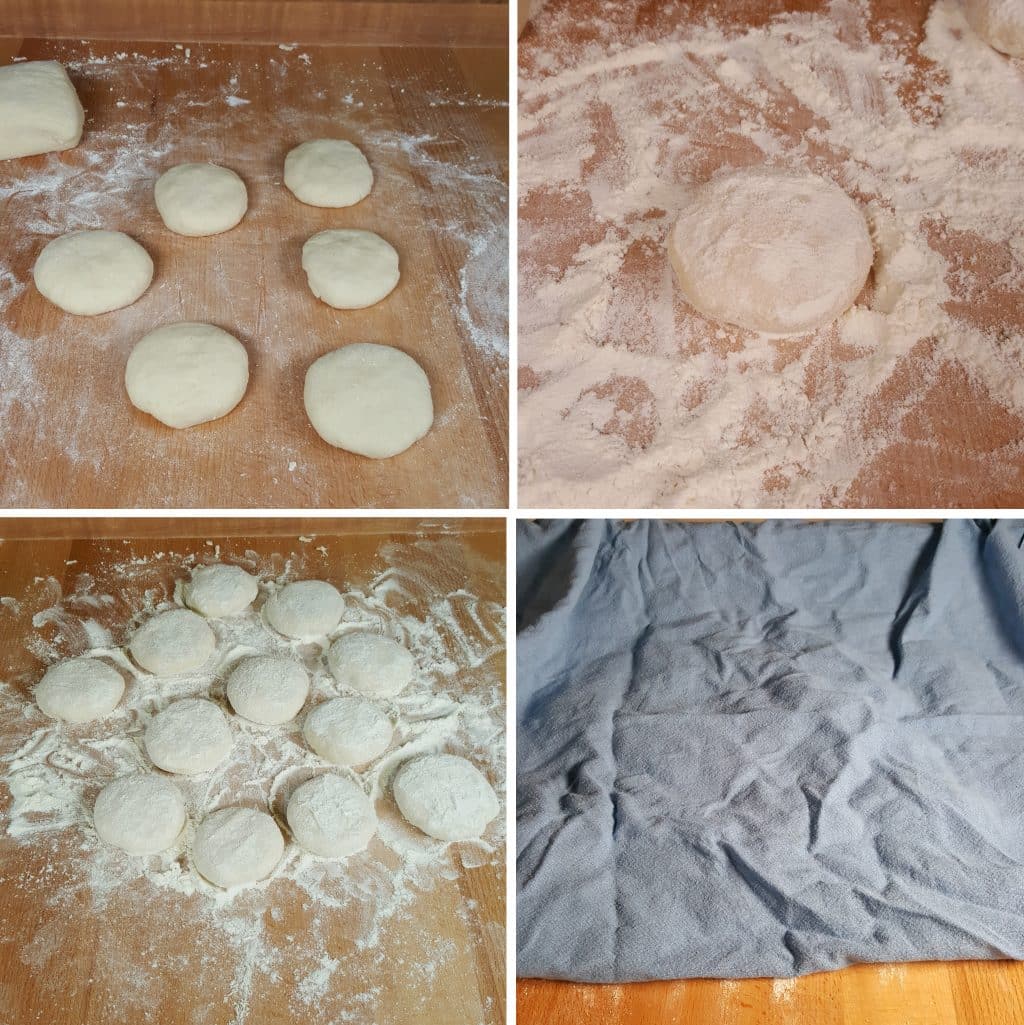
Knead the Dough into a tight ball by pulling the Dough down and into itself. Imagine the top part of a balloon turning it inside out.
Flatten each piece of Dough with your palm to make a little hockey puck size disk and then dunk the flattened round into Flour, so it is well coated.
Set it aside and sprinkle some Flour on top. Cover with a Flour Sack Towel and Bench Rest for 25-30 minutes.
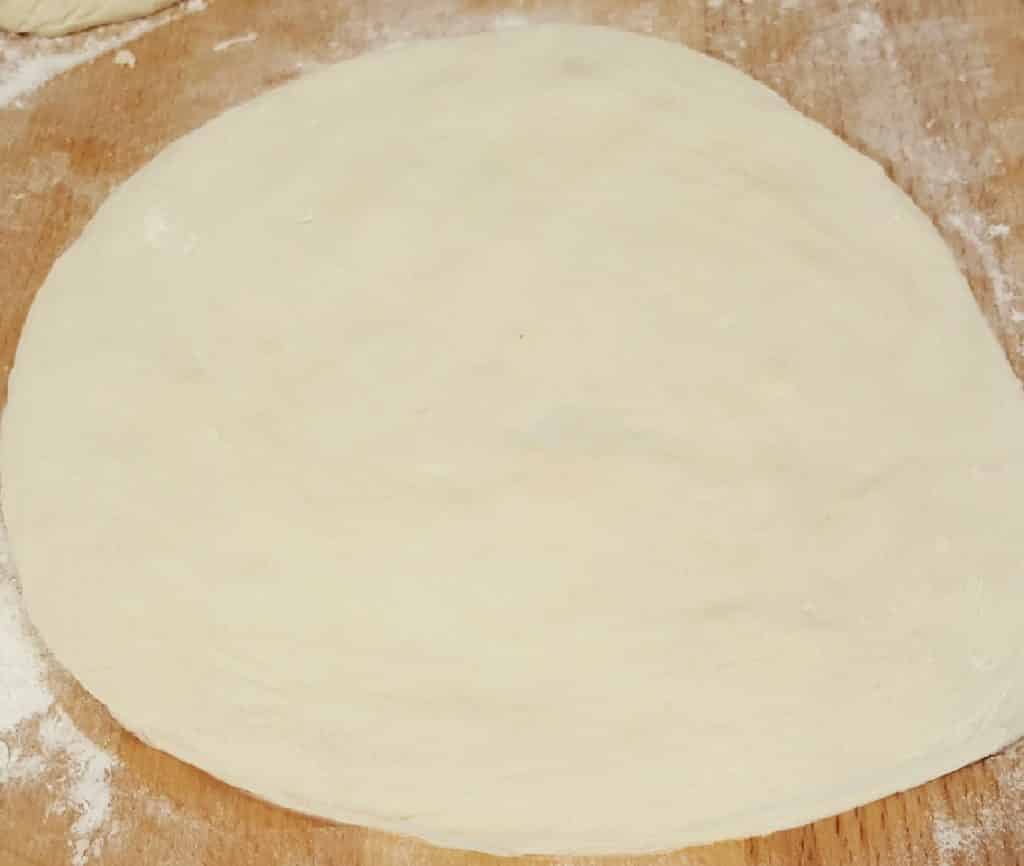
Use a Wooden Rolling Pin and roll the Dough into a circle by turning the Dough each time you roll with the Rolling Pin. Add more flour to the Board and/or to the top of the Dough, as needed. The Dough should easily move on the board, without sticking.
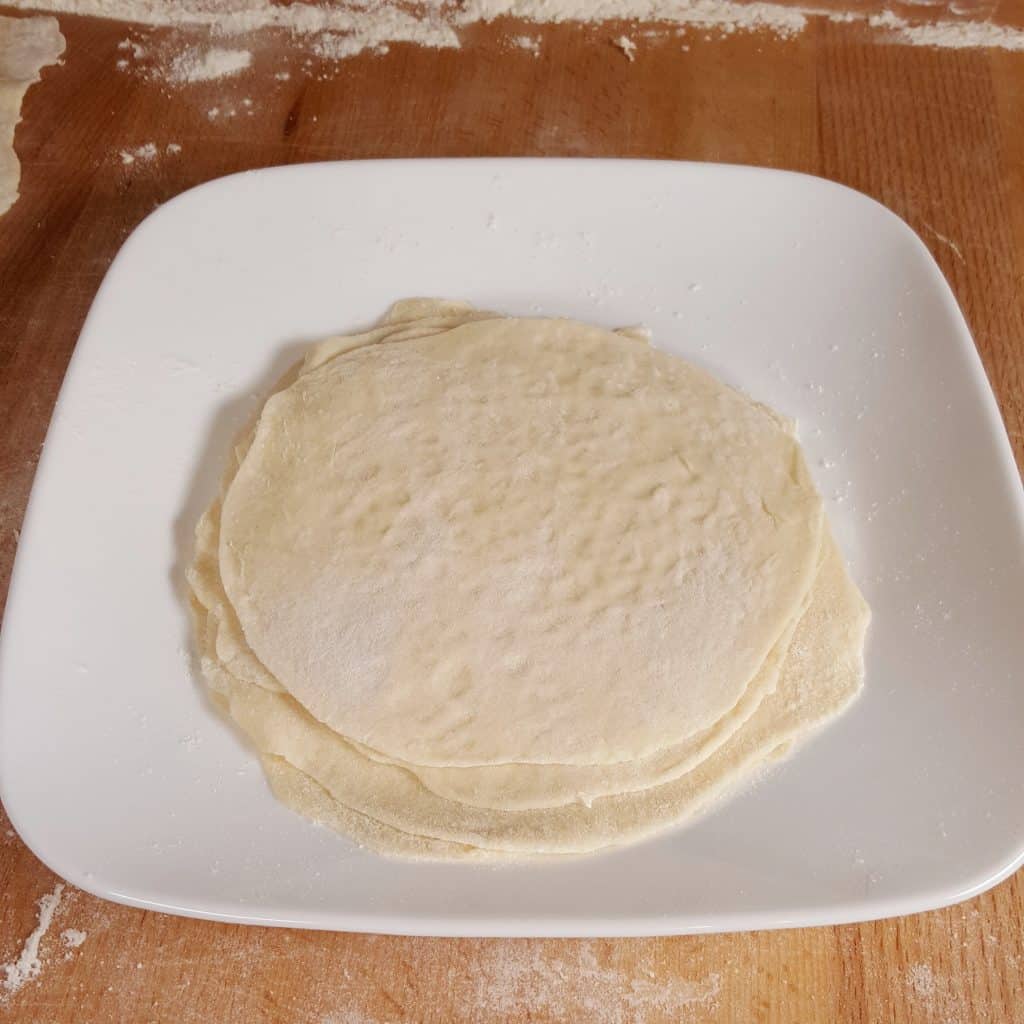
Stack the Rolled Out Chapati
Don’t forget to Roll the ends out too, as you don’t want them thicker than the middle. I use a thin Rolling Pin for my Chapati, as it seems to work the best. The Dough should be nice, flat and even, all the way out to the edges. Stack the Chapati Dough on a plate, placing each one on top of the other. Don’t worry, they won’t stick. If they do, you did not knead them long enough!
Ding, ding, ding!!!!!! If you want to turn this Indian Chapati recipe into Mexican Tortillas, use All Purpose Flour and/or Maseca/Masa Flour and a Cast Iron Tortilla Press.
To take it a step further, use a Tostada Bowl Maker and fill your edible Crispy Tostada Bowls with my Pressure Cooker Mexican Chicken Taco Burrito Bowls recipe.
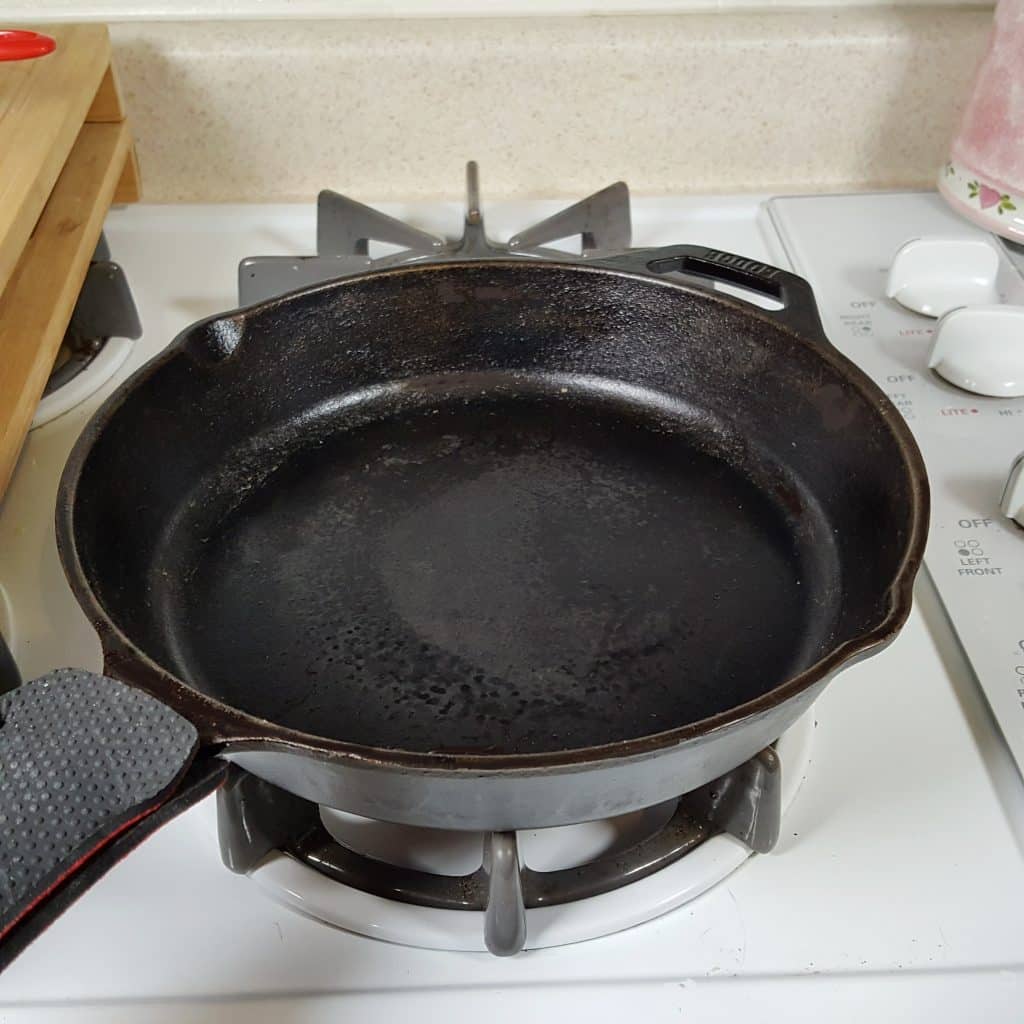
I assume most people do not own a Tava. 🙂 If you have a Cast Iron Skillet, allow at least 10 minutes for it to fully heat. I keep my Cast Iron very well seasoned, so if you do as well, there may be some excess oil. Just take a paper towel and wipe it up. The preheating will dry out the Skillet anyway.
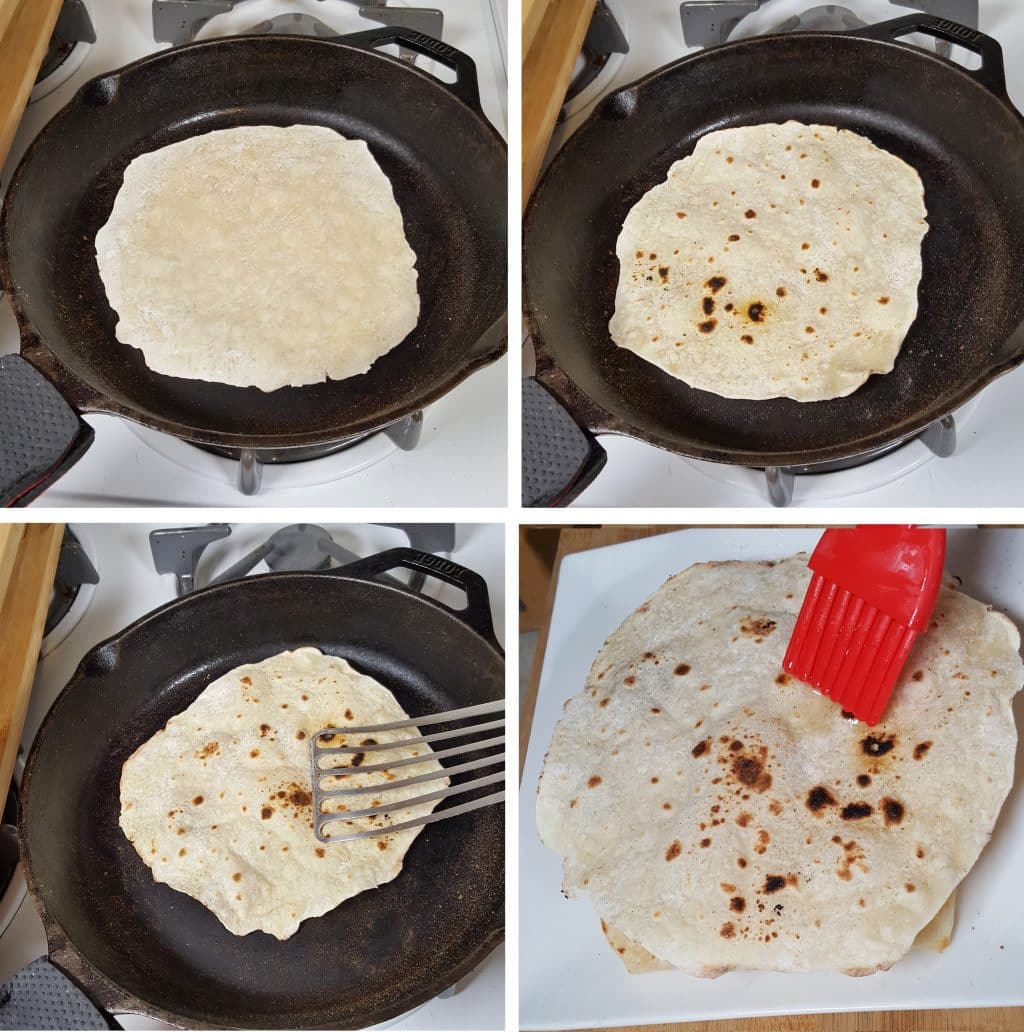
Once the Cast Iron Skillet is completely heated through, place a Chapati in to the center. The Chapati will begin to bubble in areas. Take a spatula and lightly press around the Chapati, which will cause some nice puffing. I like lots of color on mine, so I cook the Chapati for about 1.5 minutes on each side.
If you want to be a daredevil, try using an open flame!
A Silicone BBQ Basting Brush makes it easy to brush each Yogurt Whey Indian Chapati with a little Ghee. Brush it all the way to the edge too. This will keep the Chapati from drying.
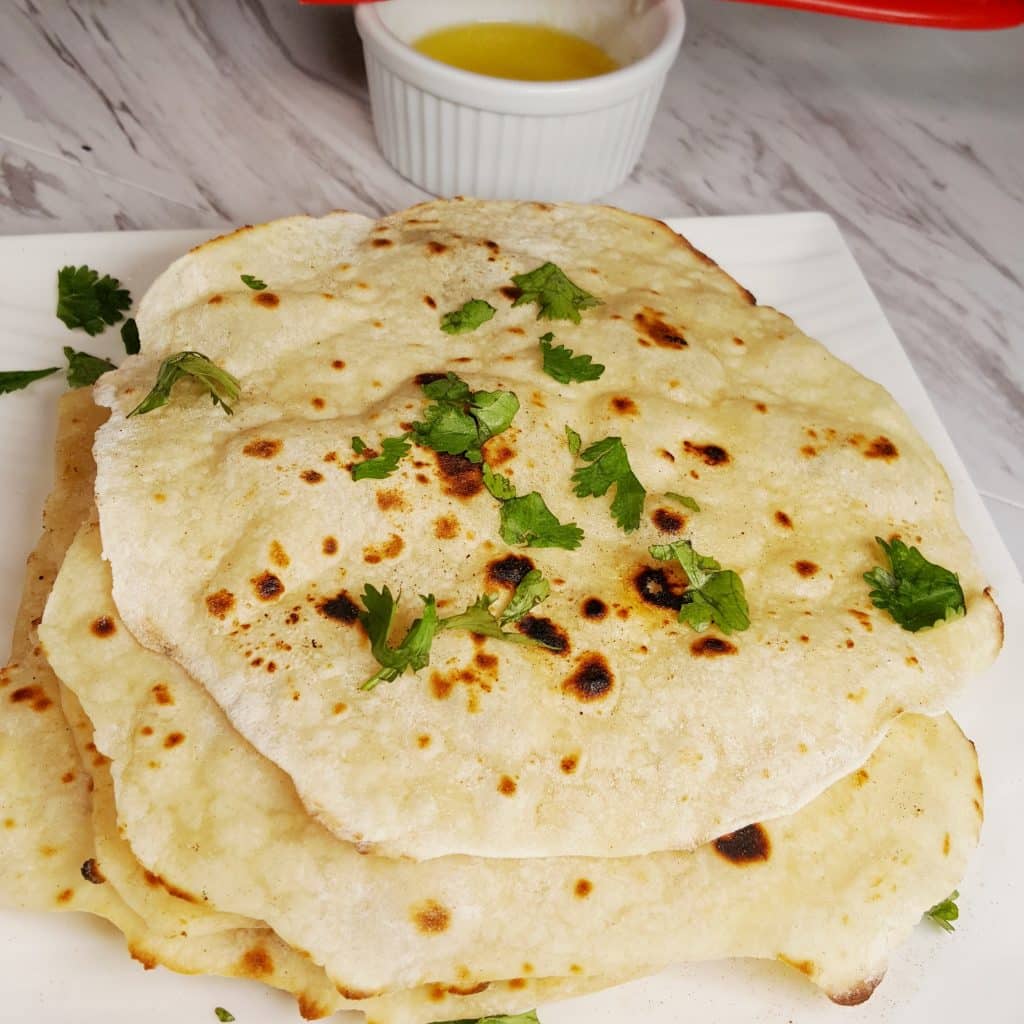
Yogurt Whey Indian Chapati
Enjoy this Yogurt Whey Indian Chapati with my Pressure Cooker Chicken Tikka Masala, Pressure Cooker Pumpkin Curry Chicken, Pressure Cooker Indian Butter Chicken {Murgh Makhani} or any other of my Indian or non Indian dishes. Sprinkle some cinnamon and sugar on top for a sweet treat!
More Delicious Bread Recipes to Make:
Kitchen Equipment and Essentials
- Amco Advanced Performance 18/10 Stainless Steel Measuring Spoons
- Simply Gourmet (Dry) Stainless Steel Measuring Cups
- LamsonSharp Chef’s Slotted Turner
- Cambro 2 Quart Storage/Mixing Bowl
- Pastry Board
- The Original Danish Whisk
- Bench Knife
- Wooden Rolling Pin
- Lodge 10.25″ Cast Iron Skillet
- Pressure Slow Cooker Simple Ghee
- Flour Sack Towel
- Silicone BBQ Basting Brush
Caring is sharing! If you would like to support This Old Gal, please share this recipe on Social Media, so that I can continue to bring you more wonderful recipes!
Here is your handy printable recipe:
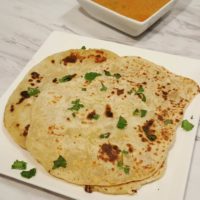
Instant Pot Yogurt Whey Chapati {Indian Flatbread}
Print Pin Save RateIngredients
- 250 grams Atta Flour (or Duram Flour) (plus 1/4 cup for rolling)
- 3 grams Sea Salt
- 175 ml Yogurt Whey (warm) or water
- 2 teaspoons Extra Virgin Olive Oil (optional, if not eating same day)
For Topping
- Melted Butter for brushing on warm Chapatis
- Kosher Salt for sprinkling
Recommended Products
Instructions
- Combine Flour and Salt.
- Pour in Olive Oil (if using).
- Add Whey, a little at a time, lightly working in the liquid.
- Mix until Dough pulls away from the side and can be handled.
- Turn dough out onto floured Pasty Board. Knead the Dough about 10 minutes, until soft and pliable.
- Cut dough into 12 pieces and roll each piece into a ball.
- Flatten each ball into hockey puck size and then dip in flour.
- Cover with a Flour Sack Towel and let rest for 25 minutes.
- Dip dough into flour and then use a Rolling Pin and roll out into a circle, about 6 inches.
- Place dough onto dry, hot preheated Tava or Cast Iron Skillet. Small bubbles will begin to appear.
- With a spatula, lightly push on different areas of the dough, causing the dough to puff.
- Turn the dough over and do the same. Continue, until brown spots appear on both sides. Alternatively, after one side has brown spots, place non spotted side on open flame and allow to puff.
- Remove to plate and with a Silicone BBQ Basting Brush, brush with Ghee or melted butter.
Notes
Nutrition
PIN this Instant Pot Yogurt Whey Indian Chapati / Roti {Flatbread}!
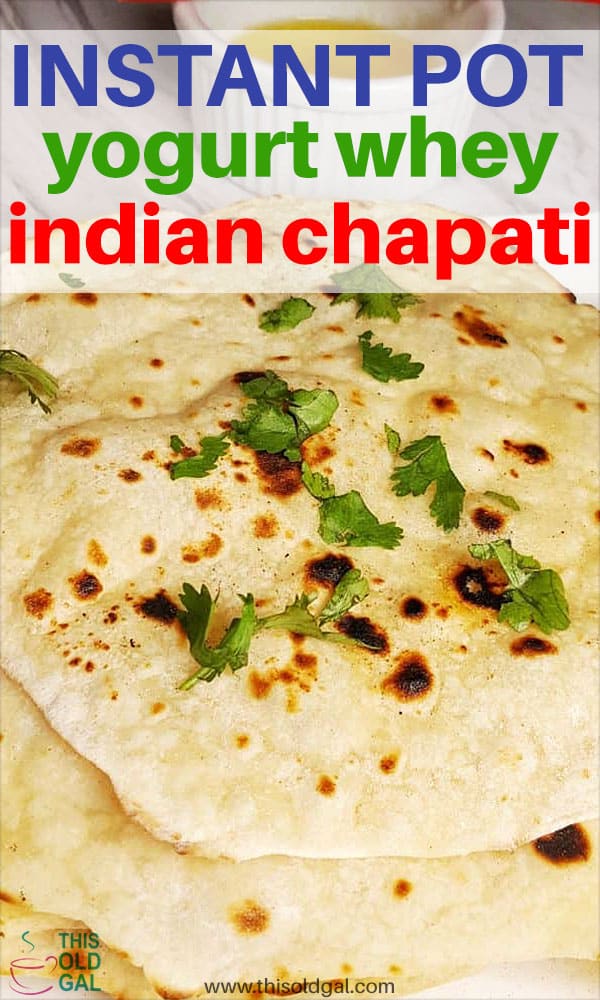
Instant Pot Yogurt Whey Indian Chapati
