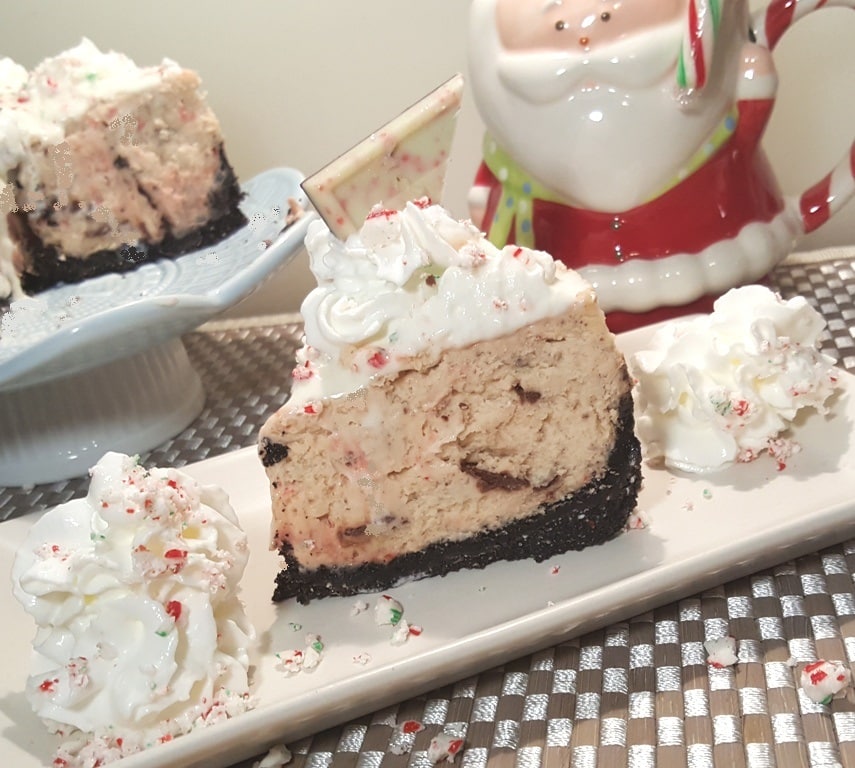
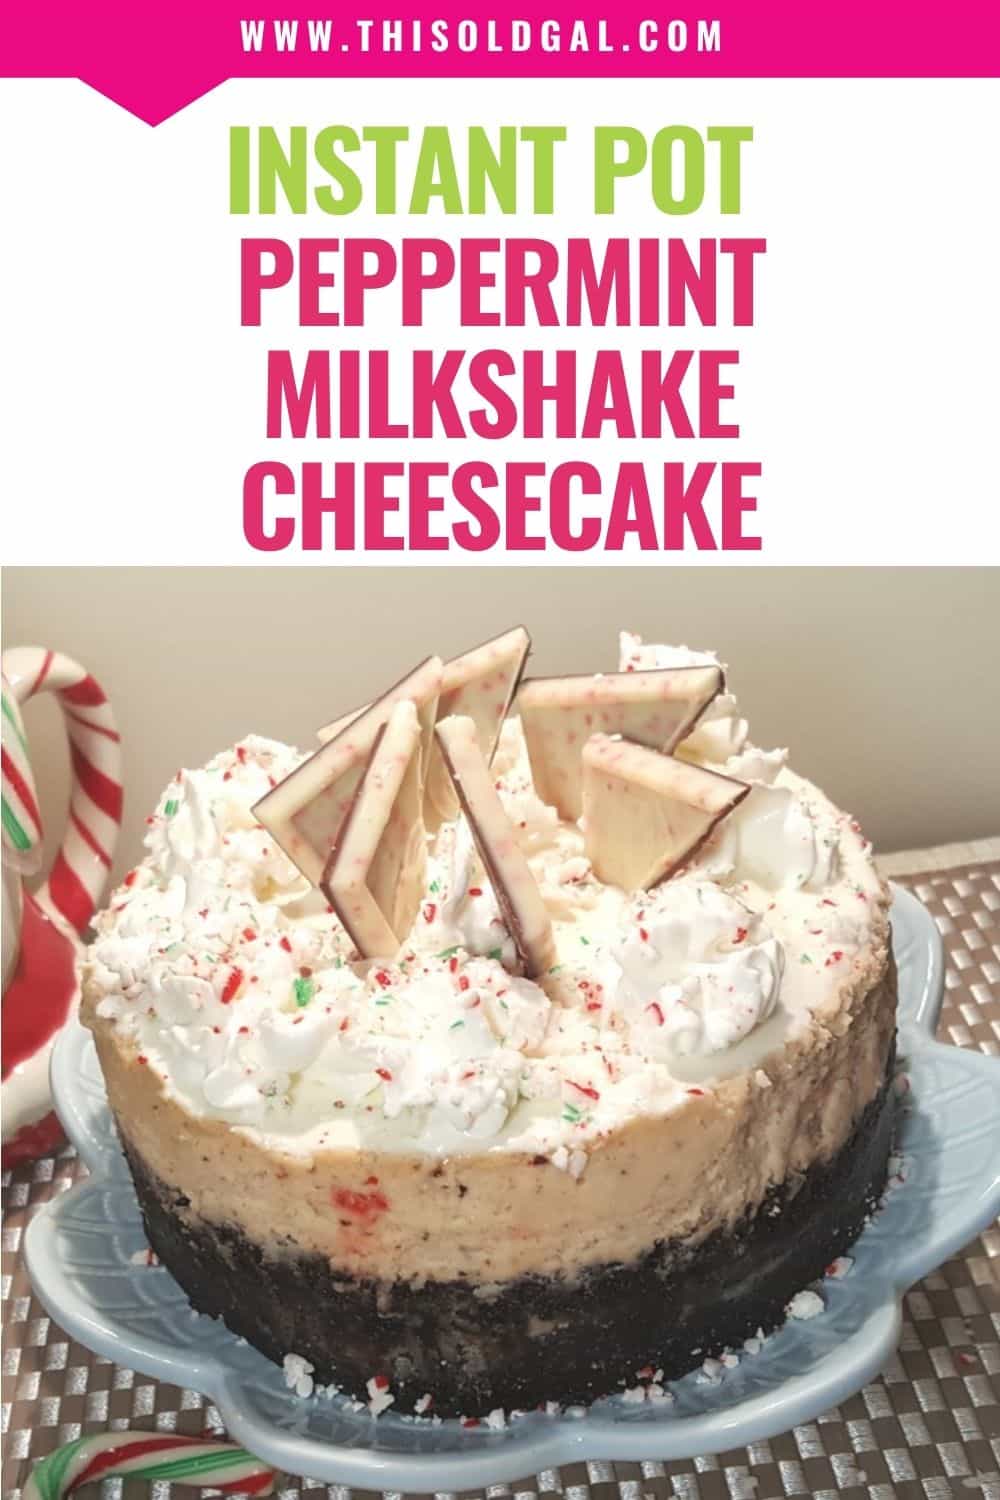
Instant Pot Peppermint Milkshake Cheesecake is like an ice cream shake on a Chocolate Cake base. White Chocolate Mousse adds a layer of deliciousness.
Instant Pot Peppermint Milkshake Cheesecake
Ah, the holidays. It’s great for most, but when your birthday falls on or around Thanksgiving, you kind of feel left out.
So what do you do? Create a fantastic cheesecake! Using an Instant Pot, Ninja Foodi or Pressure Cooker for making Instant Pot Peppermint Milkshake Cheesecake is unbelievably easy and super delicious. The moist environment lends for a perfect cheesecake.
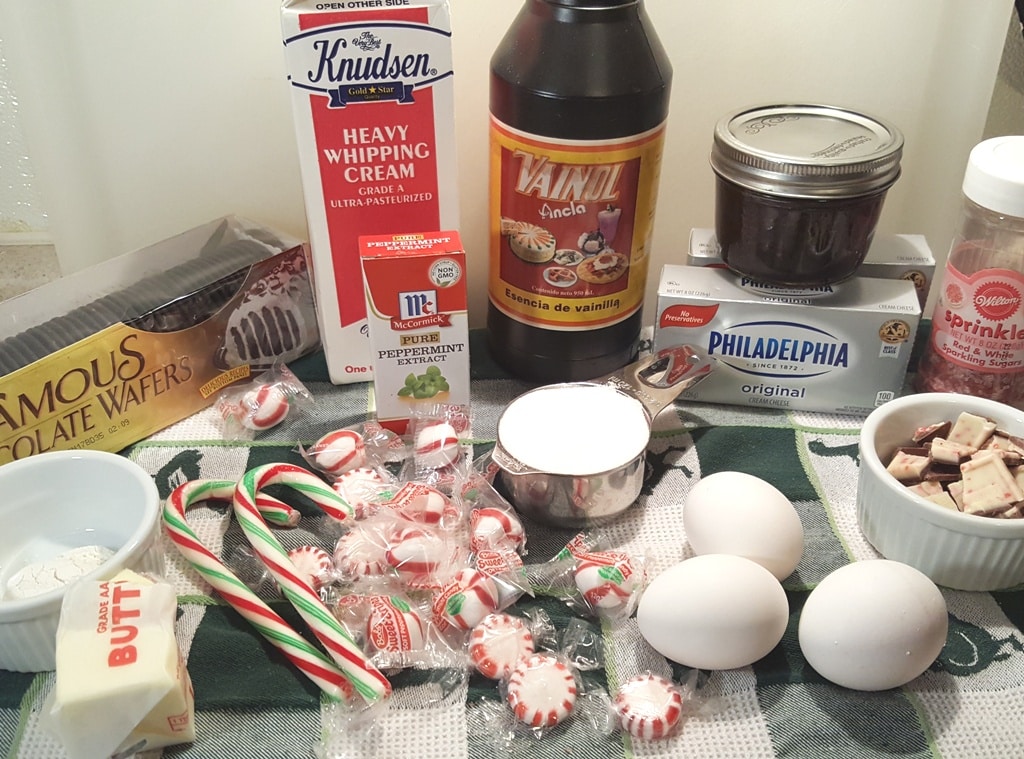
Cast of Ingredients for Instant Pot Peppermint Milkshake Cheesecake
This Instant Pot Peppermint Milkshake Cheesecake is a cross between a milkshake and a Cheesecake. The base of this Cheesecake is more like a Chocolate Cake!
Do you remember the old and infamous Nabisco Ice Box Cake? It is what inspired the “crust,” using Nabisco Famous Wafers. If you prefer a crispier crust, use crisp Chocolate Sandwich cookies.
Before you get started making this Instant Pot Peppermint Milkshake Cheesecake, please read my article called Perfect Pressure Cooker Cheesecake Tips & Guide, so that your first cheesecake will be a success.
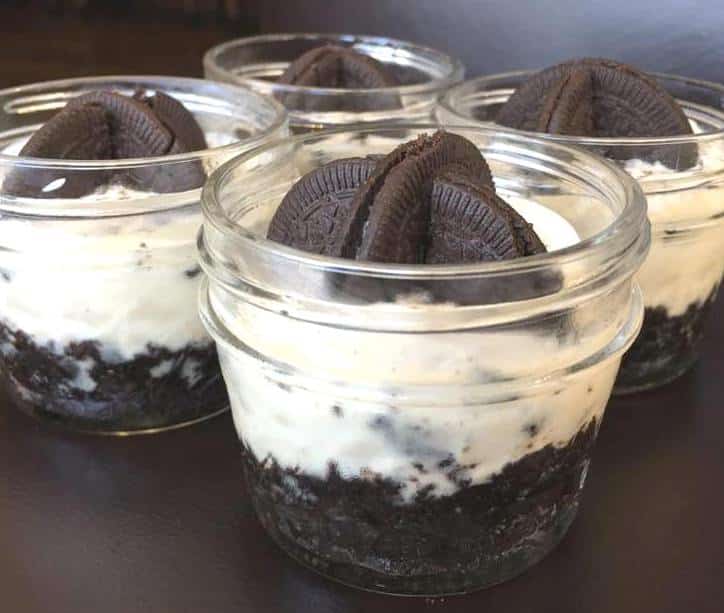
Mini Oreo Cheesecake in Jars
During the holidays, it is nice to make individual size cheesecakes using Mason Jars. To do this for this Instant Pot Peppermint Milkshake Cheesecake, you will only need six Kerr Half Pint (8 oz) Mason Jars or 12 Ball 4 oz Mason Jars. Everyone can grab their own jar and easily walk around without worry of making a mess..
More Instant Pot Holiday Cheesecakes.
- Pressure Cooker Holiday Spice Peppernuts Cheesecake
- Instant Pot Bourbon Pumpkin Pie Cheesecake (Pake)
- Mini 4 oz size Mason Jar Cheesecakes, check out my Red White and Blue Cheesecake Singles.
Jump to Section
For Lighter Cheesecakes
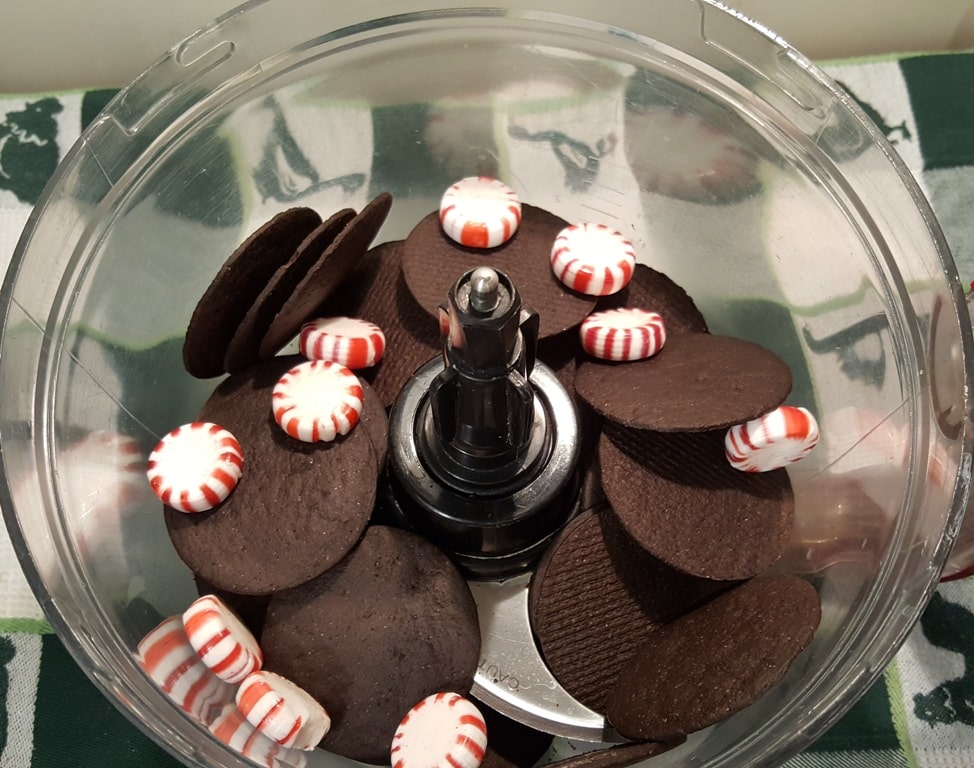
Nabisco Famous Wafers and candies easily crush in the Food Processor. If you do not own a food processor, take a large baggie and put the cookies inside. Seal it and take a rolling pin and crush the cookies.
You can also purchase already crushed peppermint candy.
Since the candy is sweet, no additional sugar is added to this crust.
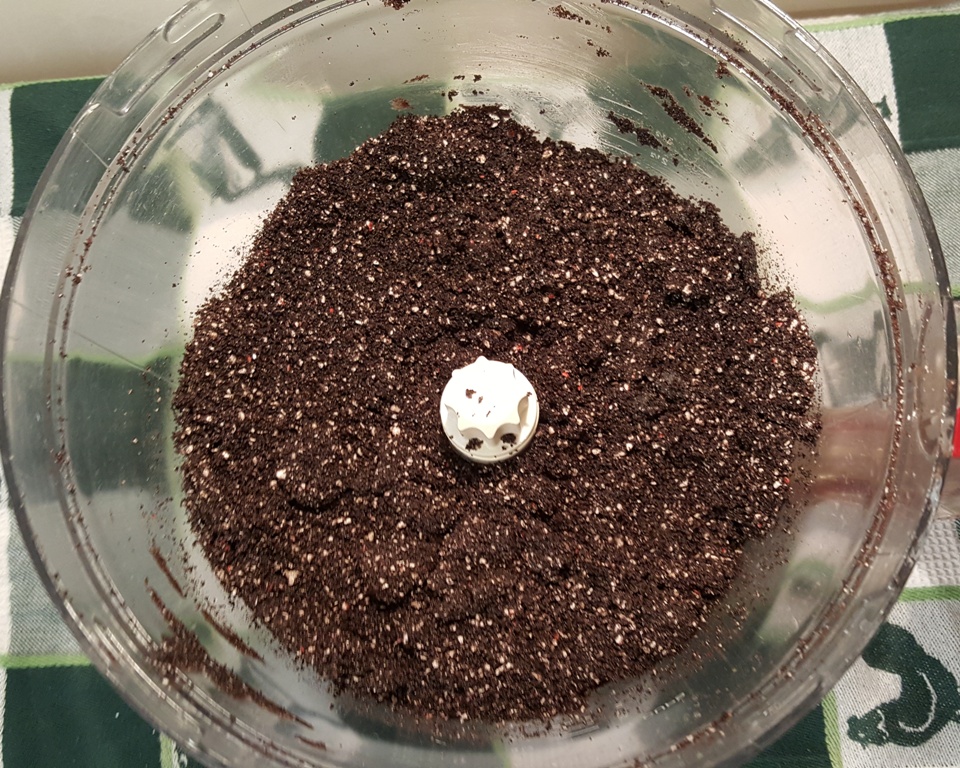
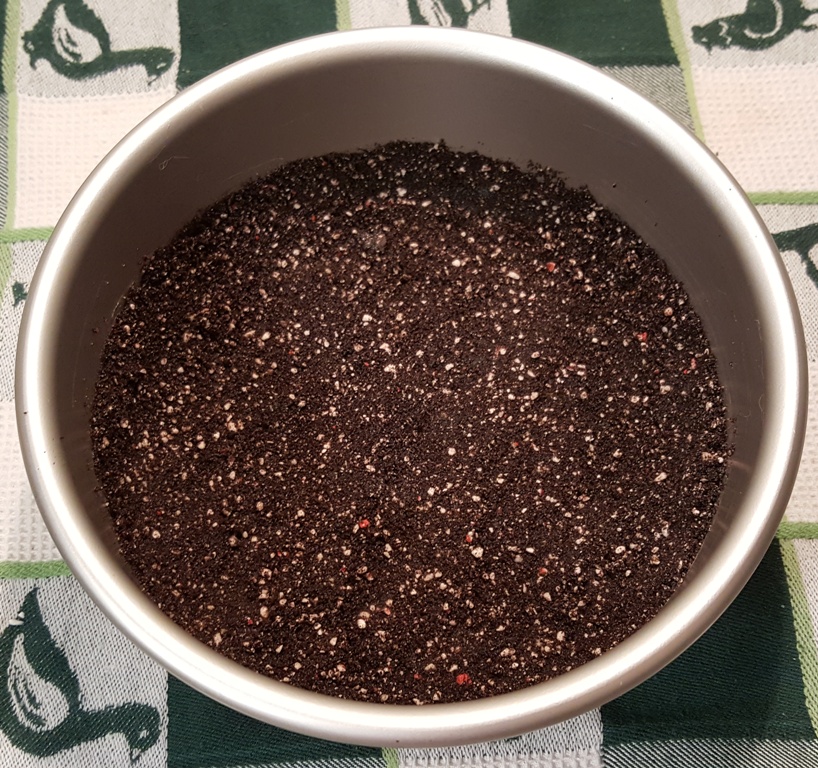
Add melted butter and combine
I love the colored specks in the crust.
The peppermint extract makes the crust a little more special.
I prefer the 6″ Fat Daddio’s Push Pan, because clean up is so very easy, but some people prefer a Spring Form Pan.
Parchment Rounds are handy to use for Instant Pot Peppermint Milkshake Cheesecake, as it makes it much easier to remove the cheesecake from the bottom part of the push pan.
The Fox Run Tart Tamper helps to make a very tight cheesecake crust.
Pro Tip: Remember not to press the cookie crumbs up high on the sides of the pan. Moisture will get in and cause a gummy crust, if the crust is up high on the sides.
Peppermint Bark is one of the ingredients, which make this Instant Pot Peppermint Milkshake Cheesecake taste like an ice cream milkshake.
and candy and mixed until well combined.
How To Make Mini Instant Pot Peppermint Milkshake Cheesecakes
- If you want to make Mini Pressure Cooker Peppermint Milkshake Cheesecakes, use three four inch Springform Pans.
- All three will fix in a 6 quart Pressure Cooker.
- I put two on a trivet and then balanced the third on the two. Works great! The minis make two servings. 😉
They can each be decorated differently, which would be nice and festive.
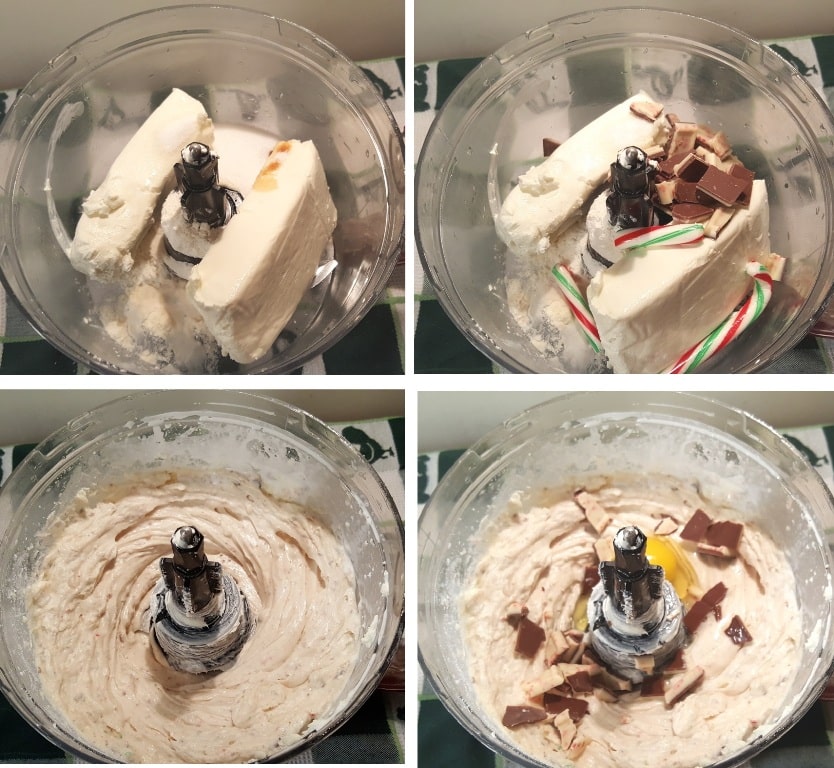
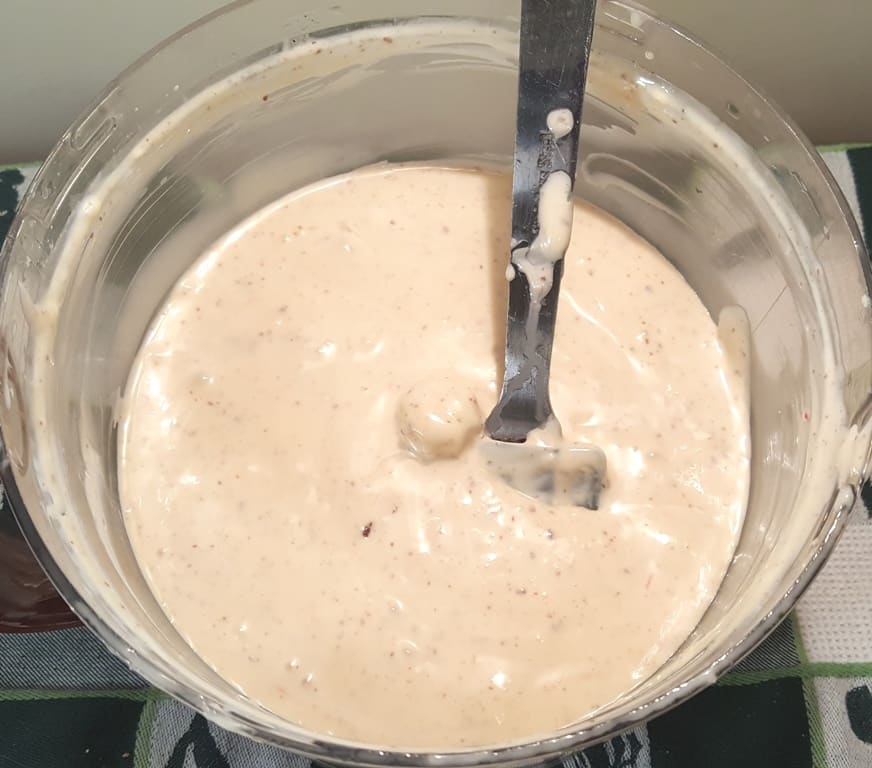
Don’t forget to scrap the sides of the Food Processor.
Looks like a Milkshake to me. I wanted to drink it, at this point.
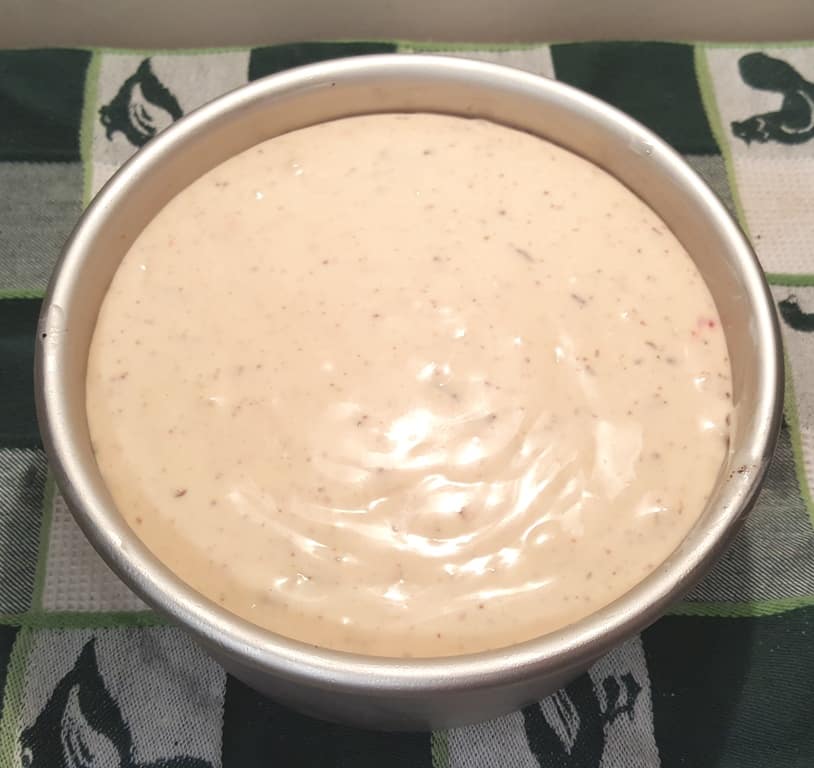
You can see specks of the candy, but not chunks.
If I had crushed and chunked the Peppermint Bark, you would have a nice white filling with streaks of color, which is really pretty too!
If you need two cheesecakes, try it both ways, for variety.

Lower Cheesecake into Pressure Cooker
Should I cover pan for Instant Pot Peppermint Milkshake Cheesecake?
- I like to cover my cake pan with a paper towel and with a piece of foil, to eliminate water from landing on the cheesecake.
- Don’t secure the foil around the pan. The foil is there, just to keep the paper towel on the pan. The foil should be loosely covering the pan.
- If it is secured all around, the cheesecake will not cook enough and then you will wonder why your cheesecake is runny in the middle.
- If any moisture gets on the cake, just dab it off with a paper towel.
Please see my article on Making and Using a Foil Sling in the Pressure Cooker to make it easier to get the cheesecake in and out of the Instant Pot, Ninja Foodi or Pressure Cooker. It is cheap to make and you will find yourself using it all your Pot in Pot cooking.
If you don’t want to make this Homemade Sling, you might prefer this Silicone Sling/ Vegetable Steamer which is a nice product.
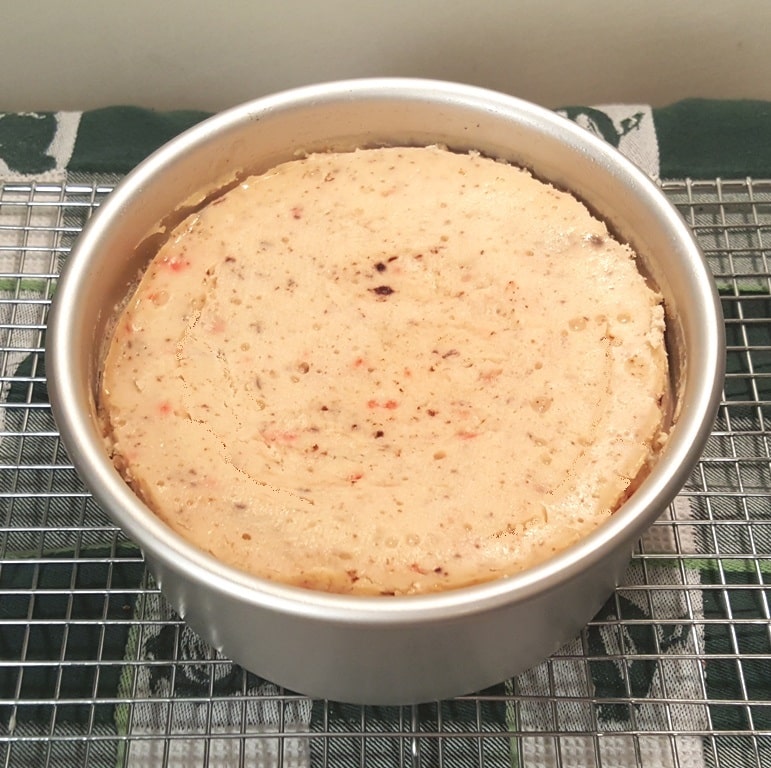
Cool on the Counter
A cheesecake is done before the center of it is set. It will be a bit jiggly in the center and the sides will be slightly higher.
Don’t feel the urge to cook longer or else the top will crack.
- The heat that is trapped inside will continue to cook the center while the cheesecake cools.
- Allow the Instant Pot Peppermint Milkshake Cheesecake to cool on the counter for at least one hour, then put into the refrigerator overnight.
- Not allowing the proper wait time, will result in a liquid center!
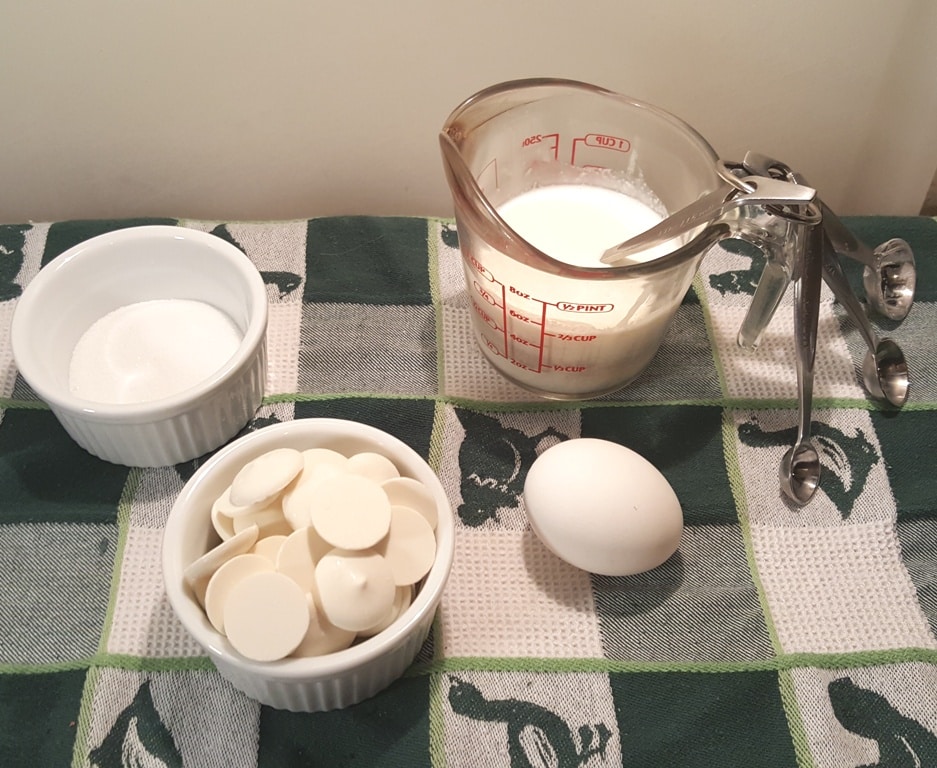
Cast of Ingredients for White Chocolate Mousse
The White Chocolate Mousse Topping can be made the next day. Make sure you use a good brand of Melting Wafers. I use Ghirardelli Melting Wafers.
If you prefer to do a sour cream layer, add it on now.
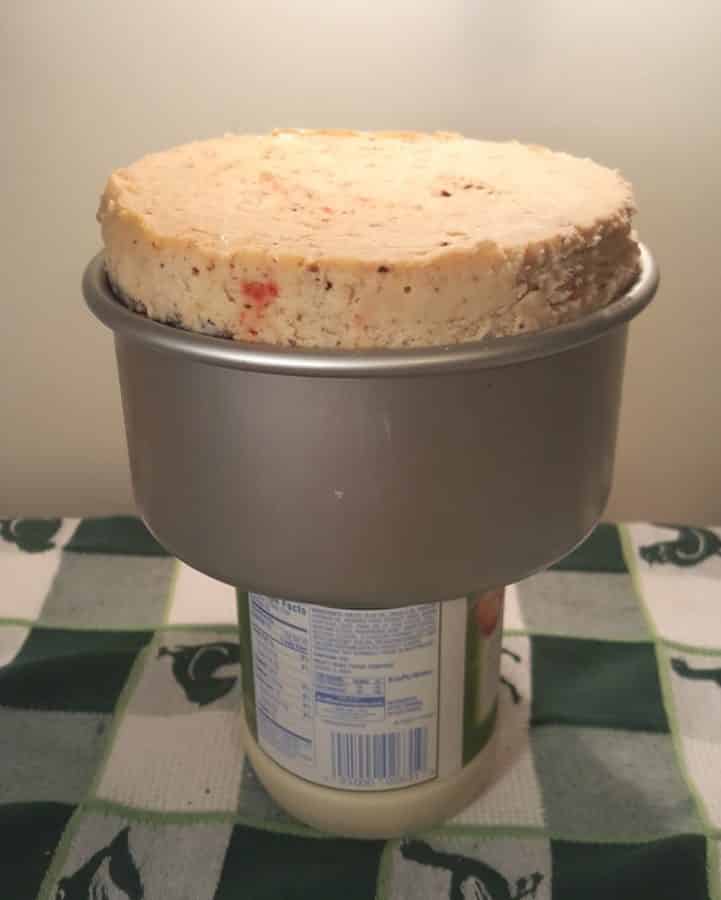
Use any jar to remove Cheesecake from Push Pan
A Cheesecake desperately needs at least 12 hours in the refrigerator, so please, please, make your Instant Pot Peppermint Milkshake Cheesecake the day before you need it and let it set up properly in the refrigerator overnight. It will taste much, much, much, better. Really, I am not joking. Your Instant Pot Peppermint Milkshake Cheesecake will taste good on the same day, but will taste incredible the next day.
How to Remove Instant Pot Cheesecake from a Push Pan.
- Any jar that will fit into the opening of the Push Pan will work.
- Don’t try to take it out of the pan, until at least after a couple of hours in the refrigerator!
- I use this LamsonSharp Chef’s Slotted Turner to remove the cheesecake to a plate. It’s super thin and fits easily between the Instant Pot Peppermint Milkshake Cheesecake and the base of the pan.
It is not a good idea to cut the cheesecake on top of the Push Pan base, as it will scratch and sticking will become a problem.
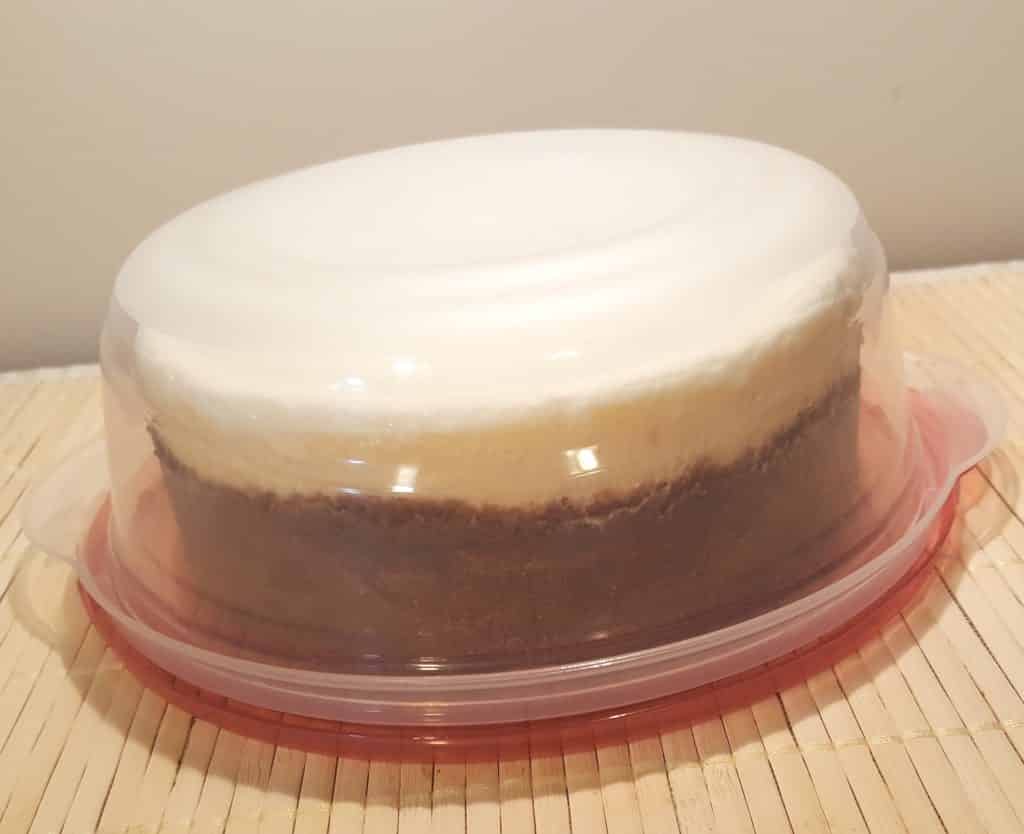
How to Transport Pressure Cooker Peppermint Milkshake Cheesecake.
- Try using Rubermaid Disposable Containers to travel with your Instant Pot Peppermint Milkshake Cheesecake.
- Use the lid as the base for the cheesecake (see two photos above) and the bowl as the cover!
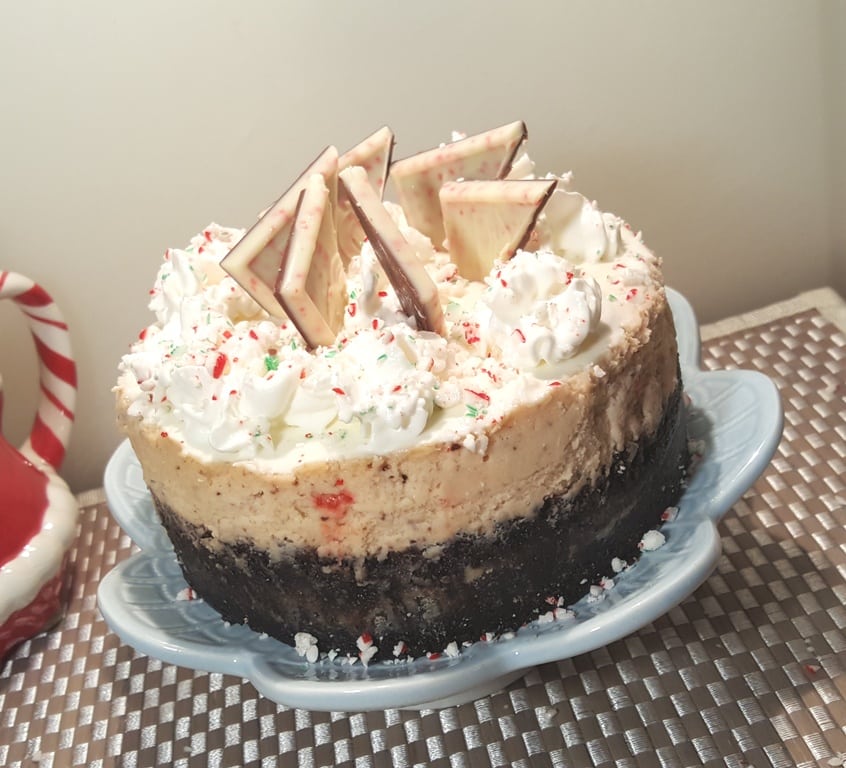
Add Whipped Cream Topping to Instant Pot Peppermint Milkshake Cheesecake
Perfect Homemade Whipped Cream and Chocolate Ganache Recipe, take this Instant Pot Peppermint Milkshake Cheesecake up another level!
Sprinkle some crushed peppermint candy over your Instant Pot Peppermint Milkshake Cheesecake, drizzle some Chocolate Ganache and enjoy your Holiday!
Before you go, check out my new Pressure Cooker Pumpkin Muffin Cheesecake Bites recipe!
More Instant Pot Cheesecake Recipes to Make.
- Instant Pot Holiday Spice Peppernuts Cheesecake
- Pressure Cooker Bourbon Pumpkin Pie Cheesecake (Pake)
- Pressure Cooker Banana Pudding Cheesecake
- Instant Pot New York Cheesecake – this cake is the best you will find anywhere!
Kitchen Equipment and Essentials
- Instant Pot, Ninja Foodi or Pressure Cooker
- J.A. Henckels Classic 7-inch Hollow Edge Santoku Knife
- Amco Advanced Performance 18/10 Stainless Steel Measuring Spoons
- Simply Gourmet (Dry) Stainless Steel Measuring Cups
- Anchor Hocking Glass (Liquid) Measuring Cups
- Stainless Steel Trivet
- Microplane Stainless Steel Zester
- Cuisinart Large Food Processor
- 6″ Fat Daddio’s Push Pan
- LamsonSharp Chef’s Slotted Turner – I totally love this spatula!
- Rubermaid Disposable Containers for Holiday Travel!
Caring is sharing! If you would like to support This Old Gal, please share this recipe on Social Media, so that I can continue to bring you more wonderful recipes!
If you share a picture of something you make from our blog, tag it with #thisoldgalcooks so we can see it. We might feature it on Instagram! It makes my day when I see you’ve made one of our recipes!
Here is your handy printable recipe:
Instant Pot Peppermint Milkshake Cheesecake
Print Pin Save RateIngredients
Crust
- 25 Crisp Chocolate Wafers Nabisco Famous, or other crispy cookie
- 6-10 Peppermint Candies Starlight, Candy Cane, Bob's
- 1 Tablespoon Butter melted
- 1 drop Peppermint Extract
Filling
- 16 oz Cream Cheese room temperature
- 1/4 cup White Sugar
- 2 Tablespoons All Purpose Flour
- 1/2 teaspoon Pure Vanilla Extract
- 1/4 teaspoon Peppermint Extract or to taste
- 4 oz Peppermint Bark Ghiradelli, chopped
- 2 Candy Canes or Peppermint Candies, crushed
- 3 Large Eggs room temperature
- 1/4 cup Whipping/Heavy Cream
Top Completer Layer
- 4 oz White Chocolate Melting Chips
- 1 Egg Yolk
- 1 Tablespoon White Sugar
- 2 Tablespoons Heavy Cream
- 1/2 cup Heavy Cream
Recommended Products
Instructions
- Please read my article Perfect Pressure Cooker Cheesecake Tips & Guide, before proceeding.
Crust
- Add cookies and peppermints to the bowl of food processor and pulse a couple of times, until small crumbs form.
- Add melted butter and peppermint extract into cookie mixture. Pulse until just combined.
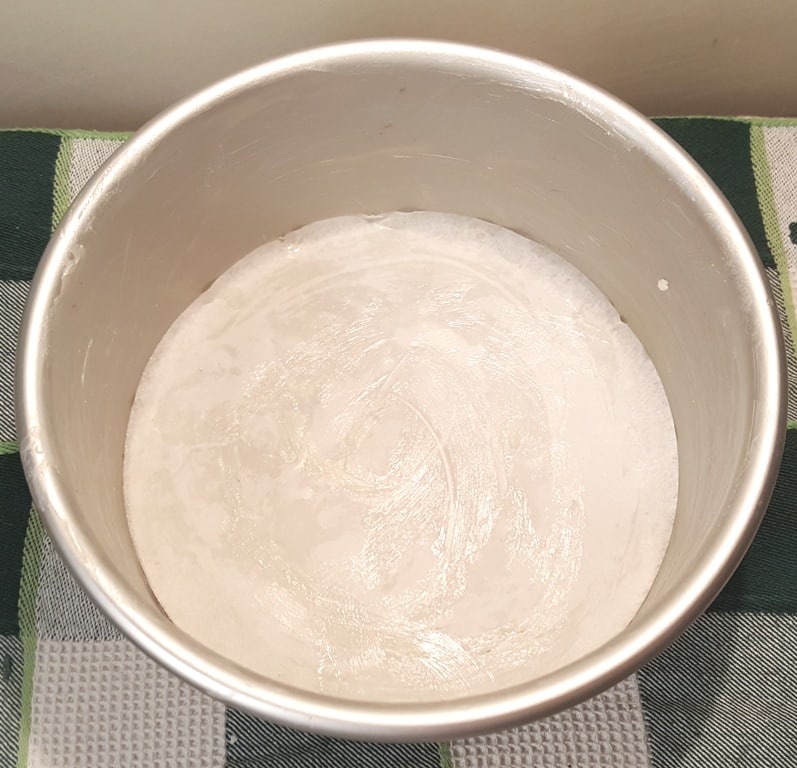
- Pour cookie mixture into bottom of greased 6-inch cheesecake pan and press the mixture firmly into the bottom of the pan and one inch up along the sides.
- Place pan with crust into freezer for 15 minutes.
Filling
- Blend together cream cheese, sugar, flour, cream, extracts, bark and peppermint candies until smooth.
- Add eggs, one at a time, mixing until just combined. Do not over mix the eggs.
- Pour filling into the pan, on top of the chocolate cake crust.
Cook
- Add 1.5 cups of water to the bottom of your pressure cooker and then place a trivet inside the pot.
- Cover the cheesecake first with a paper towel and then with a piece of aluminum foil and loosely secure the foil.
- Place cheesecake into pressure cooker using a sling.
- Lock on lid and close Pressure Valve.
- Cook at High Pressure for 45 minutes. Allow an 18 minute natural release.
- After all pressure has been released, open pressure cooker and gently remove the pan. Remove the foil and paper towel and dab off any liquid that may have accumulated.
- The center will be a bit jiggly, but don't worry. The heat that is trapped inside will continue to cook the center while the cheesecake cools.
- Place in refrigerator overnight.
White Chocolate Mousse Layer
- Chop white chocolate into small pieces.
- Whisk eggs and sugar together.
- In a medium saucepan, heat 2 Tablespoons of Heavy Cream on the stove, then turn off burner.
- Temper the eggs by adding just a teaspoon of the hot cream into the egg mixture.
- Add the egg mixture into the warm pan, along with the chopped white chocolate and whisk until smooth.
- If the chocolate does not melt all the way, turn the stove back on for just a few seconds to heat and then turn it right back off. Pour into a cold bowl.
- With an electric handheld mixer, whisk the 1/2 cup of cream to form soft peaks. Carefully fold half the mixture into the cold bowl. Then fold in the rest. Place in refrigerator for hour to set.
- Gently spoon over cheesecake and decorate with crushed candy cane.
Notes
8 oz Wide Mouth Glass Jar - cook 7 minutes
4 oz Wide Mouth Glass Jar - cook 4 minutes
16 oz Glass Jars - DON'T DO IT!
15 minute Natural Pressure Release
Nutrition
Update Notes: This post was originally published on: Oct 16, 2016, but was republished with more information and nutrition info in November 2018.
PIN this Pressure Cooker Peppermint Milkshake Cheesecake!
Instant Pot Peppermint Milkshake Cheesecake
